How To Mod Doom 64
Welcome to our guide on how to mod Doom 64 and enhance your experience with custom mods. If you’re a fan of the classic game and want to unlock new realms of gameplay, you’re in the right place. Modding Doom 64 allows you to customize and personalize your gaming experience, adding new features, levels, and more.
In this article, we’ll walk you through the process of installing and using custom mods for Doom 64. Whether you’re a seasoned modder or a beginner, our expert tips and instructions will help you navigate the modding process with ease.
But before we dive into the details, let’s take a look at what modding is all about and how it can elevate your gameplay to new heights. Ready? Let’s get started!
Understanding the Modding Process
Before diving into the world of Doom 64 modding, it’s essential to understand the process. Modding allows you to customize and enhance your Doom 64 experience by adding new features, levels, and visual enhancements. In this section, we will provide a step-by-step guide on how to prepare your game for mods and introduce you to the vibrant modding community.
Preparing Your Game for Mods
Prior to installing custom mods, it’s important to ensure that your game is compatible and ready. Here are the key steps involved in preparing your Doom 64 game for modding:
- Check Compatibility: Verify that your version of Doom 64 is compatible with mods. Look for information on the mod’s requirements and ensure they align with your game version.
- Backup Game Files: Before making any changes, create a backup of your original game files. This will allow you to revert back to the original game state if needed.
- Install Modding Tools: Download and install the necessary tools for modding Doom 64. This may include level editors, texture editors, and mod management software.
Finding Custom Mods for Doom 64
Once you have prepared your game for modding, it’s time to explore the vast collection of custom mods available for Doom 64. Here’s how to find reliable and exciting mods:
- Modding Communities: Join online communities and forums dedicated to Doom 64 modding. These communities are a treasure trove of information, discussions, and mod releases.
- Modding Websites: Visit popular modding websites that host a wide range of Doom 64 mods. These platforms often provide detailed descriptions, screenshots, and user ratings to help you find the most suitable mods.
- Developer Websites: Keep an eye on the websites of mod developers and their portfolios. Many creators release their mods directly on their websites, showcasing their latest projects and providing updates on future releases.
“Modding allows players to unleash their creativity and take control of their gaming experience. With custom mods, Doom 64 can be transformed into a personalized adventure, tailored to each player’s preferences.”
Now that you have a foundational understanding of the modding process and know where to find custom mods for Doom 64, in the next section, we will dive into the practical aspects of installing and activating mods. Discover the flexibility and endless possibilities that custom mods can bring to your Doom 64 gameplay.

Installing and Activating Mods
Now that you are familiar with the modding process, it’s time to delve into the exciting world of installing and activating mods in Doom 64. Follow our step-by-step guide to ensure a seamless experience, enhancing your gameplay with the best custom mods available.
Installing Mods
Before you begin installing mods, make sure you have a reliable source for downloading them. There are numerous online communities and forums dedicated to Doom 64 mods, where you can find a wide variety of options to suit your preferences. Choose mods that align with your gameplay style and desired enhancements.
Once you have downloaded the mod files, the next step is to locate your Doom 64 game directory. The location may vary depending on your platform, but it is typically found in the game’s installation folder. Open the game directory and look for a folder named “mods” or “addons.”
Create a new folder within the “mods” or “addons” directory and give it a descriptive name related to the mod you are installing. Copy the downloaded mod files into this new folder.
Now, launch Doom 64 and navigate to the mod menu or settings. Here, you should find an option to enable or activate mods. Select the mod you want to use from the list of available mods and enable it. Ensure that the mod is compatible with your Doom 64 version to avoid any compatibility issues.
With the mod successfully installed and activated, you’re ready to experience the new and exciting gameplay features it brings to Doom 64.
Best Practices for Mods in Doom 64
While modding can greatly enhance your gaming experience, it’s important to keep a few best practices in mind to ensure smooth gameplay and avoid any conflicts or issues.
- Backup your original game files: Before installing any mods, it’s always a good idea to make backups of your original game files. This way, you can easily revert to the original game state if you encounter any problems or wish to remove the mods.
- Read the mod descriptions and instructions: Before installing a mod, take the time to read the mod description and any accompanying instructions or documentation. This will give you a better understanding of the mod’s features, compatibility, and installation requirements.
- Stay updated: Keep an eye out for updates and patches for both Doom 64 and your installed mods. Developers often release updates to improve stability, fix bugs, and add new features. Staying updated will help ensure compatibility and optimal performance.
- Test one mod at a time: To identify and troubleshoot any potential issues, it is recommended to install and test one mod at a time. This way, if any conflicts arise, it will be easier to determine the cause and find a solution.
By following these best practices, you can maximize your enjoyment of the Doom 64 modding experience while minimizing the risk of encountering technical difficulties.

| Benefits of Installing Mods | Activation Process |
|---|---|
|
|
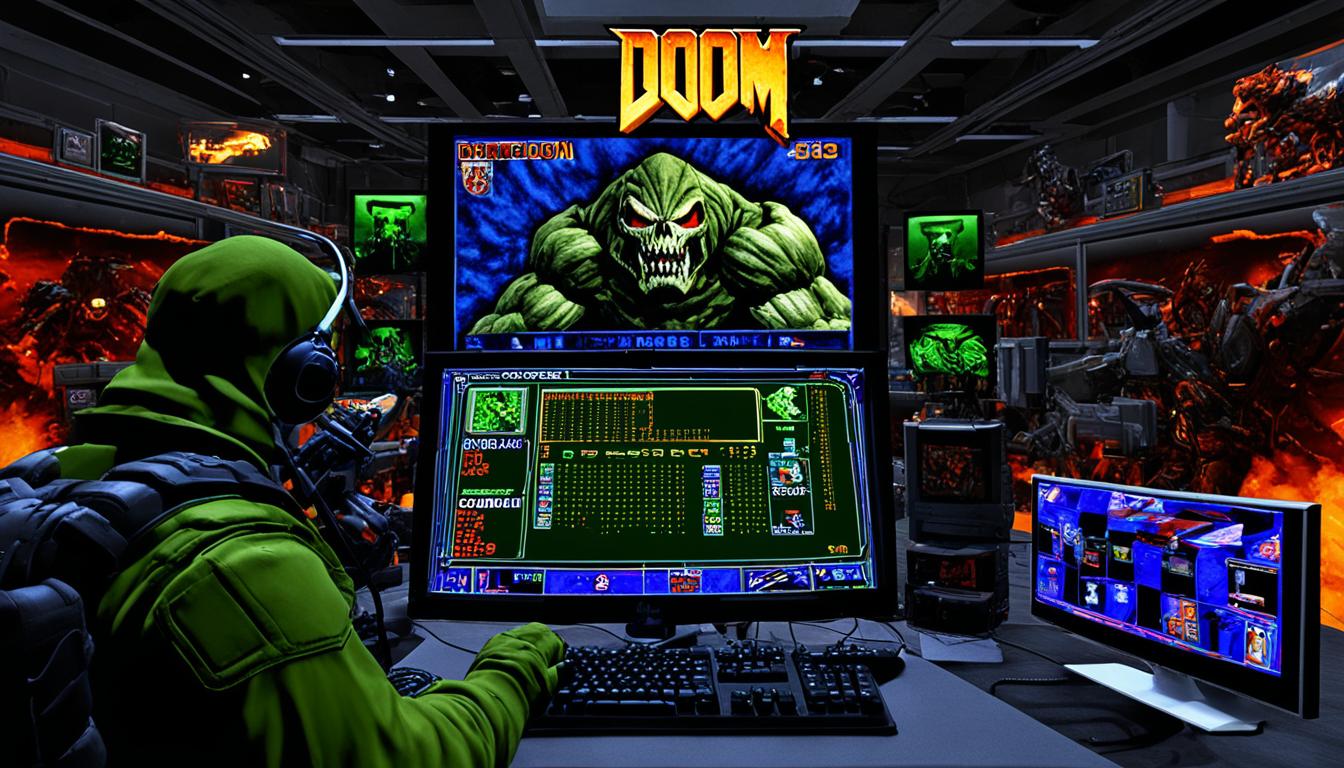
Exploring Popular Doom 64 Mods
Looking to add some excitement and fresh gameplay to your Doom 64 experience? Look no further than the world of custom mods. In this section, we’ll introduce you to a selection of the most popular and must-try mods for Doom 64. Brace yourself for an enhanced and immersive journey through the dark realms of this iconic game.
First up, graphic enhancements. These mods take the visual appeal of Doom 64 to a whole new level. Experience stunning high-resolution textures, improved lighting effects, and realistic atmospheric details. Let the captivating visuals transport you into a world that’s darker, grittier, and more intense than ever before.
If you’re craving fresh challenges, the selection of mods featuring new weapons and levels is sure to satisfy your appetite. Unlock a vast arsenal of devastating firepower, including futuristic weaponry and hidden treasures. Immerse yourself in meticulously crafted levels that push the limits of creativity, offering thrilling gameplay and mind-bending puzzles.
Integrating these mods into your Doom 64 gameplay is a breeze. Simply follow the provided instructions and unleash a new dimension of excitement. Whether you’re a seasoned modder or new to the scene, these popular mods are a must-try for any Doom 64 enthusiast. Prepare to be amazed and discover the limitless possibilities awaiting you in the world of custom mods.